

How to Install VMware Workstation Pro 25H2 on Windows (Step-by-Step Guide – 2026)
In the previous article, we downloaded VMware Workstation Pro 25H2 from the official portal. If you haven’t done that yet, you can read it here: How to Download VMware Workstation Pro on Windows
Now it's time to install it properly before we start creating a virtual machine.
In this guide, I'll walk you through the installation process on Windows.
Before You Begin
Make sure you have:
The installer file (downloaded in previous article)
64-bit Windows 10 or Windows 11
Virtualization is enabled in BIOS (Intel VT-x / AMD-V)
At least 8 GB of RAM (16 GB Recommended for lab setups)
Installation Step
Installing VMware Workstation Pro is straightforward — just like installing any other Windows application.
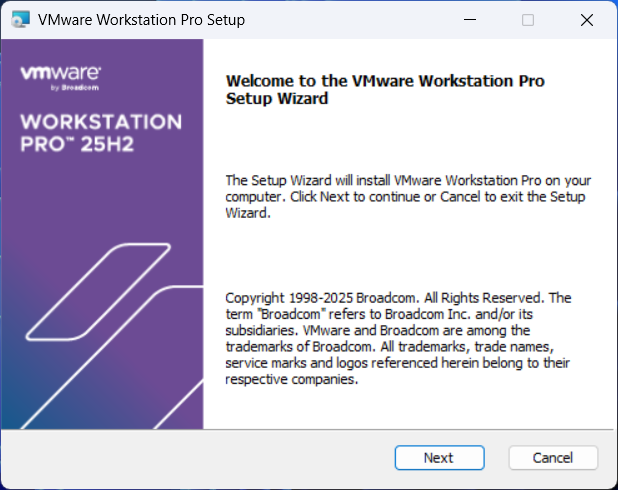
Double-click the installer to launch the installation window
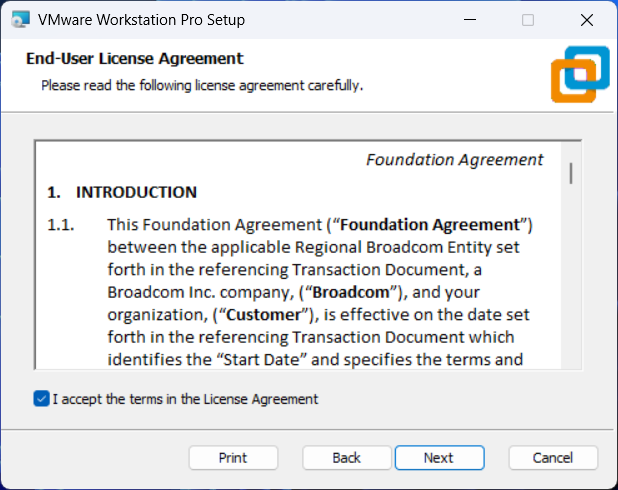
Accept the terms and conditions
Click
Install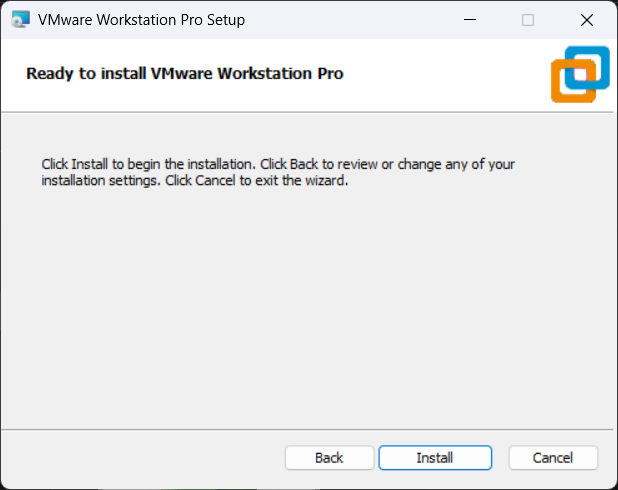
In next step, VMware will detect whether Hyper-V is enabled on your systems
If Hyper-V is enabled, VMware will use it.
Otherwise, VMware will use its own hypervisor (as shown below)
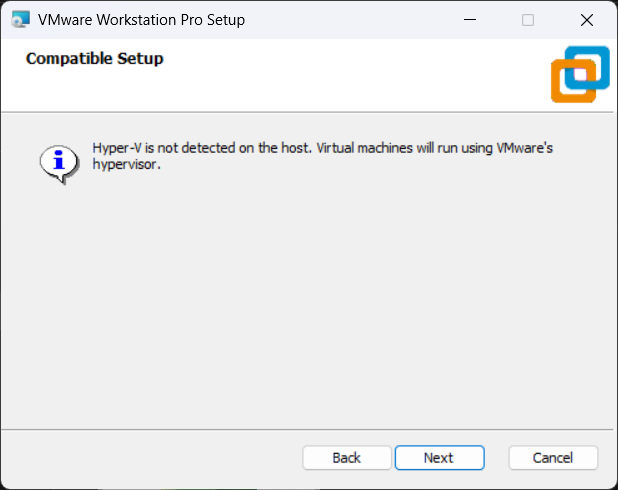
Click
Next
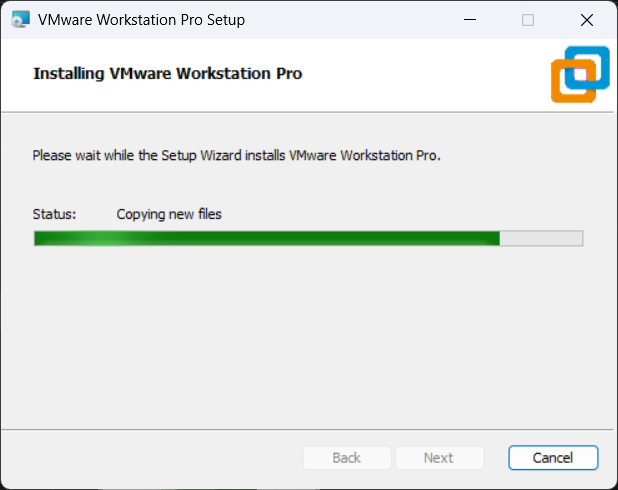
Installation will begin. It may take about a minute for to complete
Once the installation is completed you will see VMware Workstation Pro icon on your Desktop and in the Start Menu.
Double-click desktop icon to launch VMware
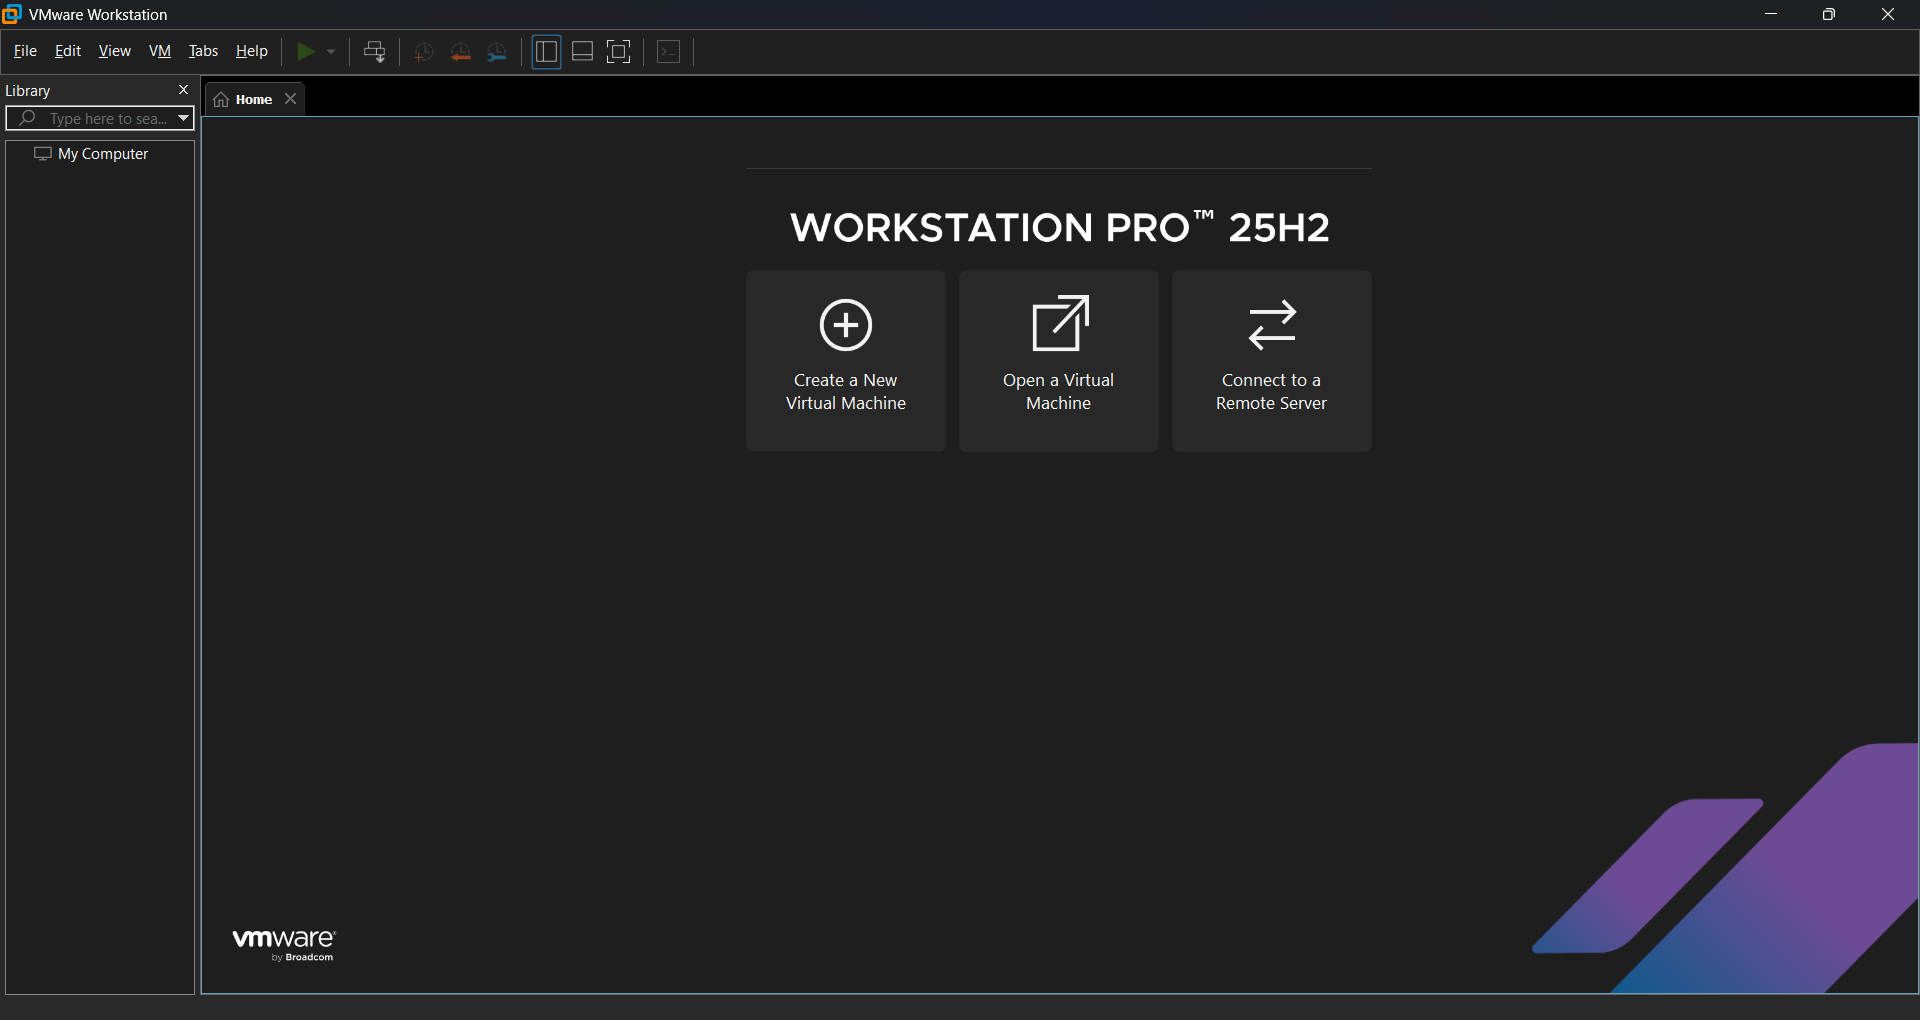
And that’s it - VMware Workstation Pro 25H2 is now successfully installed on your Windows system.
Now its time to set up our first Virtual Machine.
In the next article, we'll download and install Ubuntu 22.04 Server as our first VM
👉🏻 Next Article: Install Ubuntu Server 22.04 On VMware Workstation Pro 2026
Series Roadmap
Installation Guide ✅
Creating Your First VM (Ubuntu Server 22.04)
Installing Rocky Linux on VMware
Setting up Internal Networks
Configuring Static IP on Ubuntu and Rocky
Building a Gateway VM for Multi-VM Lab Architecture
Multi-VM DevOps Lab Architecture